This is my go-to quick jam recipe for just about any fruit, and it somehow is still better than most store-bought brands. My favorite part of this recipe is that it is pectin-free (well, added pectin free. We are reaping the benefits of the natural pectin found in all fruit), so all it takes is the fruit you have on hand and some sugar! And, for extra flavor, a squeeze of lemon.
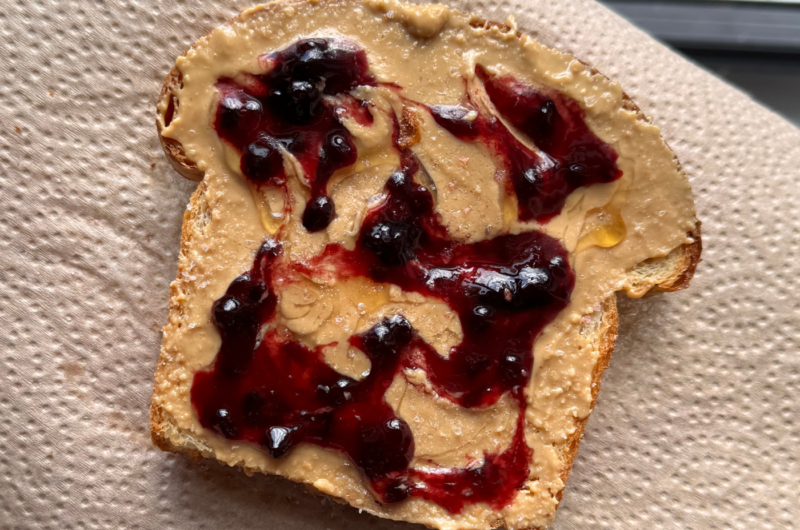
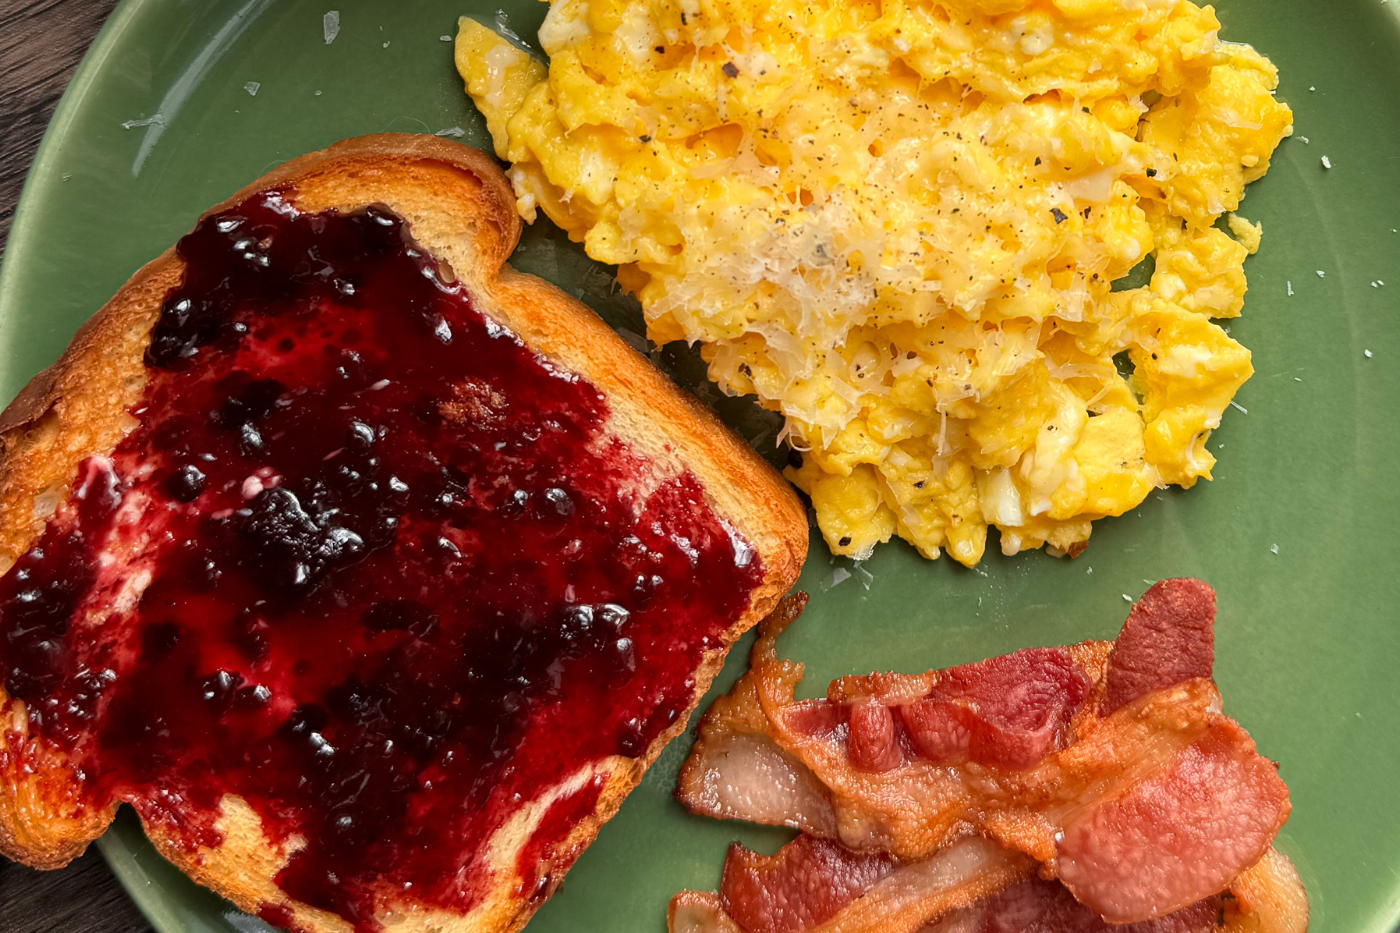
I love to eat it on good bread with high quality salted butter (pro tip, put your eggs on your jam toast), but add to sandwiches, as a layer in desserts, pop on a cheese board, or pair with whatever your heart desires.
The recipe is also extremely simple to remember – a 2:1 ratio of fruit to sugar in weight. You may need to adjust this depending on the sweetness of your fruit (bump it up a bit for super sour, lower to about 1/3 for super sweet fruit), but this base ratio works well in most cases.
The trick here? The plate test. If you don’t know about the plate test, it is by far the easiest way to know when your jam is… well, jammy. Since we aren’t using added pectin, you need to ensure the jam is cooked long enough that it sets up once cooled. To do this, put a plate in the freeze before you start making your jam, so it is in there at least 20-30 minutes. When you suspect your jam is ready, place a dollop on the frozen plate and hold in between a 45-90 degree angle. If the jam runs quickly down the plate, it is not ready. You want the jam to either run slowly (a thinner, looser jam) or hardly not at all (a firm set jam). Without the plate test, it can be hard to know when your jam is ready as it is very loose when cooking.
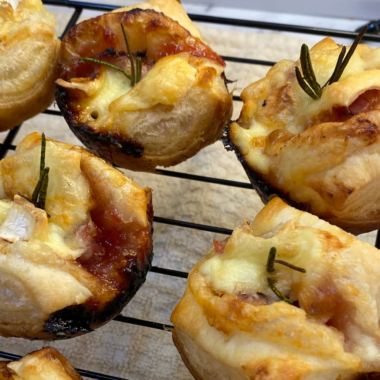
I will also note that we are using this as a quick jam recipe, which means it is also usually going QUICK. I tend to make this as either a fresh batch for my own home (which gets eaten easily in 1-2 weeks), or for a recipe like my Plum Jam Cinnamon Rolls or Plum Brie bites. Because of this, I do not tend to sterilize my jars for long term storage. If you do want to do this, follow the below steps.
Sterilize jars:
-Sterilize your jars by washing them in hot soapy water and then placing in a 250 degree F oven for 10 minutes.
Vacuum seal in a water bath
-After filling your sterilized jars, carefully submerge them in boiling water and let sit for 10-15 minutes. Carefully remove, listening for a pop sound to indicate the have sealed. They are now good for up to a year. Store in a cool dry place.
Jam you can make with the below recipe:
-Plum
-Blackberry
-Raspberry
-Peach
-Strawberry
-Jalapeño
-Fig
anything you can dream of!
The last note, and one on most of my recipes – I have the below recipe in weight and I HIGHLY encourage you to weigh your ingredients!! It is far more accurate – did you know there is not even a standard “cup”? So there really is no way to know you have the proper amount of whatever ingredient without the weight. This is especially important in this recipe because the volume of the fruit will vary greatly depending on what you are using, and as a result, the base ratio below is only in weight. Here is the scale I use.
Quick, any fruit jam recipe
Course: Sweets, Sides, Basics, BreakfastDifficulty: Easy30
minutes1
minute1
hour30
minutesIngredients
Fruit of your choice
1/2 of the weight of your fruit in Granulated sugar
Squeeze of a lemon, optional
Directions
- Place 2 small plates in the freezer. If needed, remove any stems/leaves/core from your fruit and chop into rough, large pieces. If you are using smaller fruit that you can eat whole, like raspberries, skip this step.
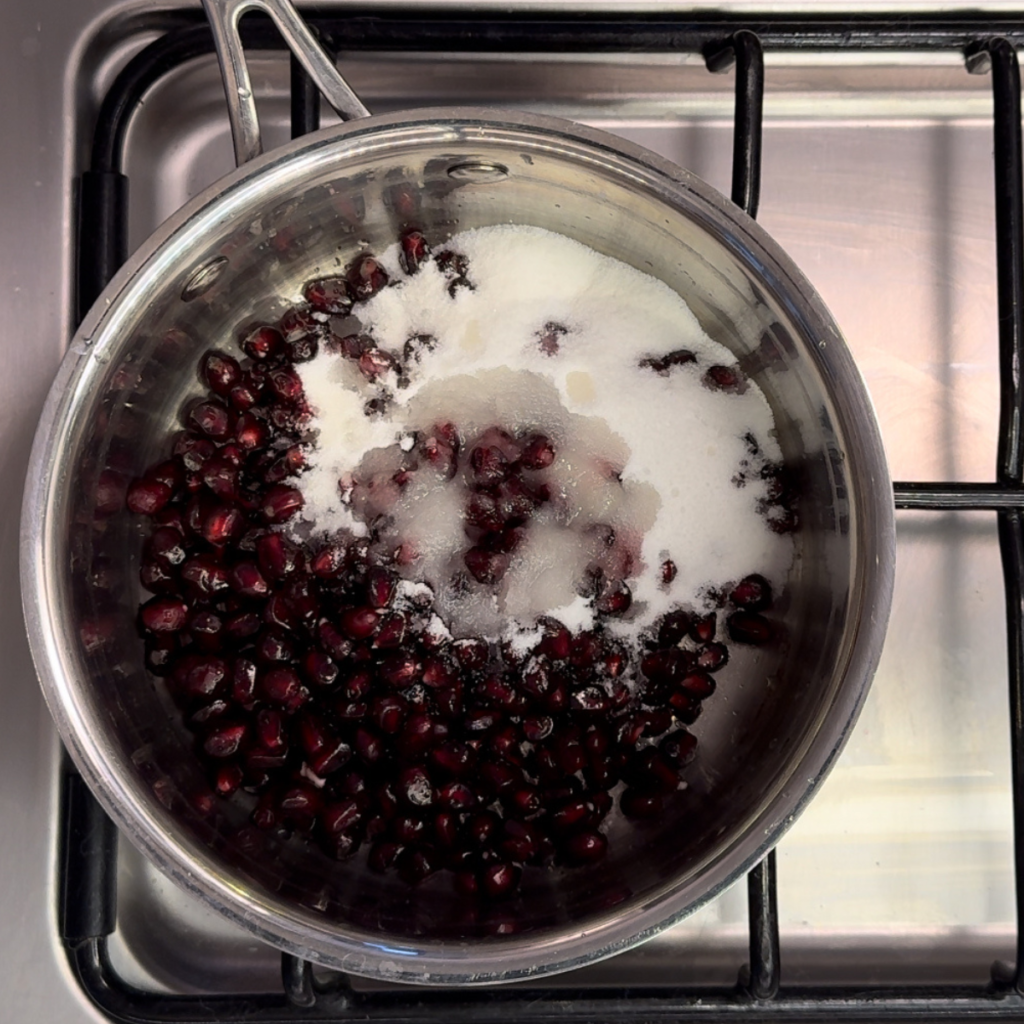
- Weigh your fruit and add to a heavy bottomed saucepan. Add half of the weight of your fruit in granulated sugar (ex. 400g of blackberries, 200g of sugar). If desired, add a hefty squeeze of lemon (adjusting based on how much jam you are making) and mash with a spoon.
- Place the pot over medium-low and cook, stirring occasionally and mashing the fruit up with the back of your spoon. The jam will start as thick, syrupy fruit pieces, get very thin and loose, and then thicken back up slightly.
Cook 20-30 minutes, stirring occasionally until it starts to thicken back up. To test your jam, place a small dollop on one of your frozen plates and tip, seeing if the jam runs down the plate. It should either fall very slowly or not at all.
If it runs quickly down the plate, continue to cook and test on your backup in another 5-10 minutes. - Transfer your jam to a heatproof, resealable glass container or jar. If you want it smooth or without seeds, strain through a fine mesh sieve. Beware, this can be messy! (and I personally love the added texture of not straining)
- Once cooled, close and store in the fridge for 2-3 weeks.
Recipe Video
Notes
- Recipe Credit: Life & Lemons
