I have a LOT of thoughts on pie dough, but first and foremost is that homemade will always be better than store bought. I know I say that a lot, but pie dough is something I will actually never buy again because not only is it so much better homemade, it is ridiculously easy and requires 0 special equipment – just a little patience.
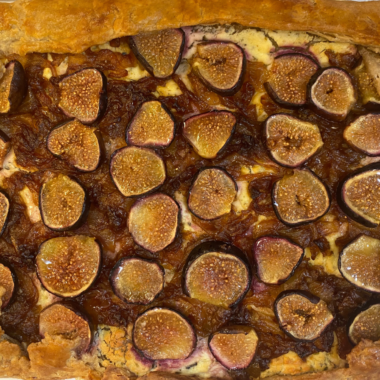
A recommendation I make near constantly – make double, triple, quadruple even the recipe to stash pie dough in the freezer for a rainy day galette (a simple, flat, freeform pie). Some of my favorites include my fig, goat cheese, & caramelized onion galette, pistachio plum galette, or miso apple galette. Some other uses include hand pies, quiche, pot pies, savory pockets, or of course, a pie!
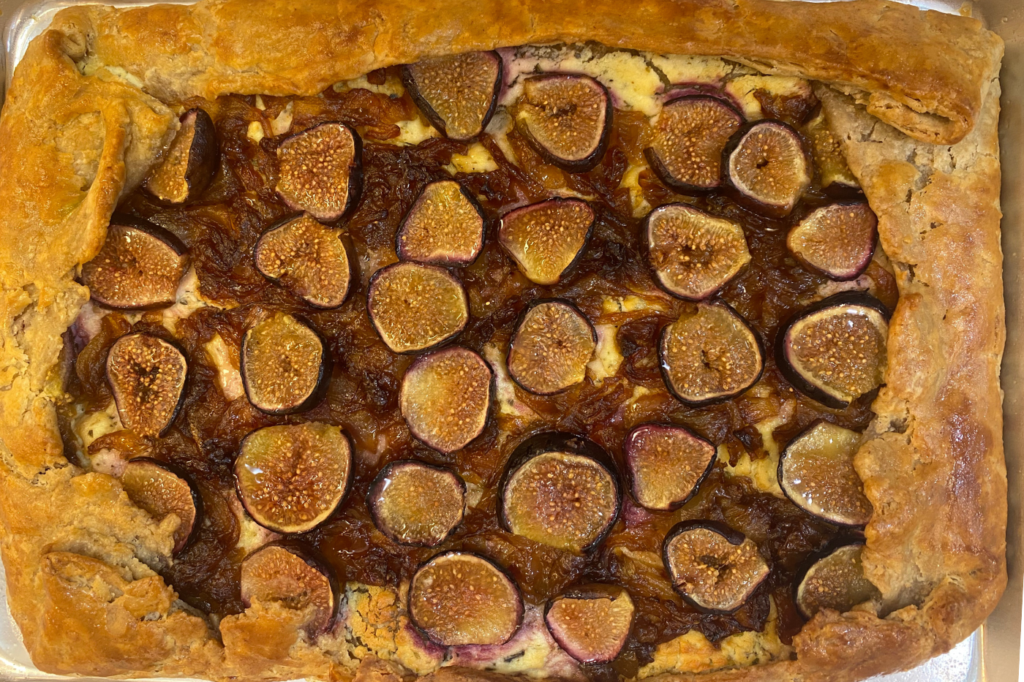
I credit my love of all-butter pie dough to Claire Saffitz. Her recipe, which this is a variation of, is unbelievably flaky, buttery, and at the same time, beautifully tender. Now, I know some prefer shortening based pie doughs because they are a bit easier to shape and bake a bit more reliably when trying to do an ornate crust, but the flavor of all butter crust is worth the aesthetic imperfections 10 times over.
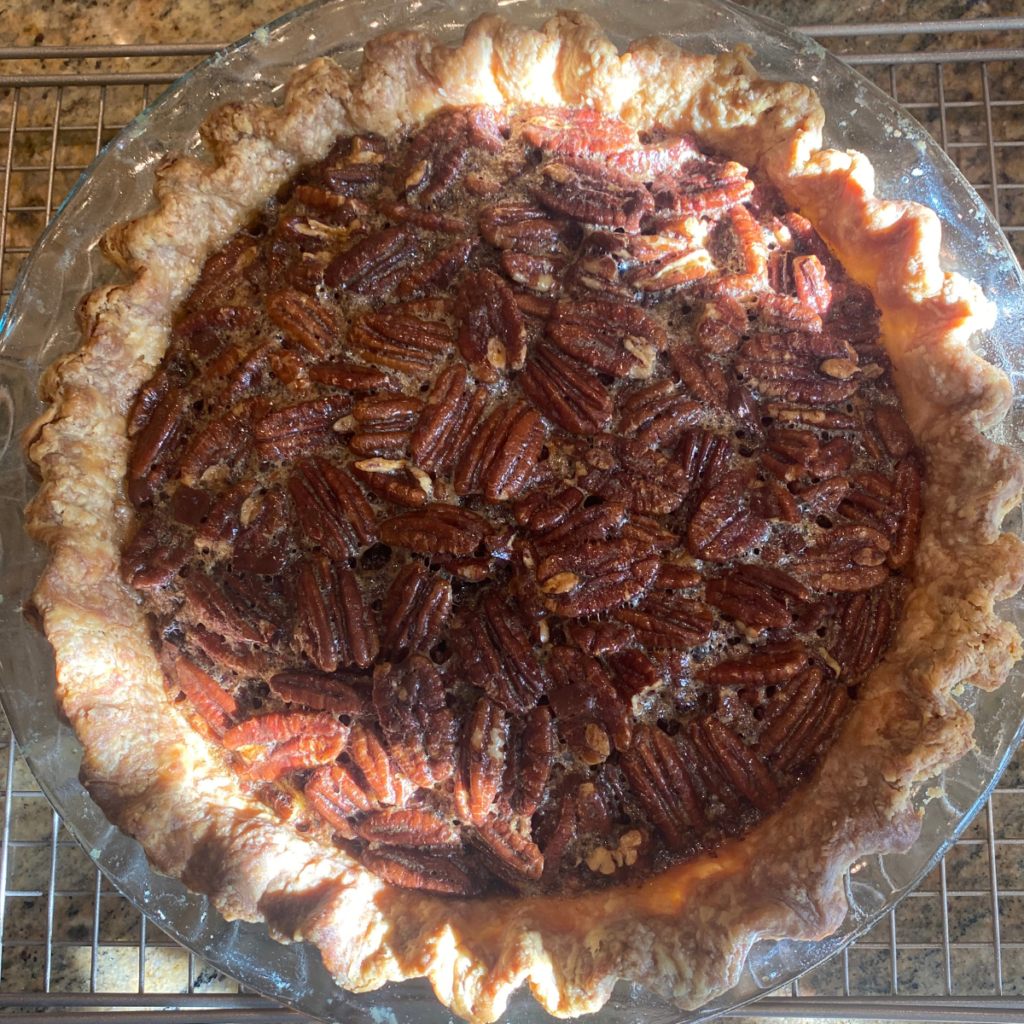
Lets talk method. The most important part of pie dough is keeping it cold as you work. You want the butter to stay in little pieces throughout, and not melt and incorporate into the dough. This is what is going to give us beautiful, flaky layers. To do this there are a few tricks I recommend.
-Slice your butter and place back in the refrigerator until the moment you are ready to use.
-Once your dry ingredients are mixed, place in the freezer for 10-20 minutes.
-ALWAYS use ice water over just cold water
-try to keep your kitchen as cool as possible
-if your hands run warm, use a bench scraper to bring together instead
-if the dough is warming up and getting sticky, pop in the fridge to firm back up
I know a lot of people like to get out the food processor to make their dough but I am begging you, try it by hand just once. When you make the dough by hand you are able to create an array of uneven pieces of butter throughout your dough – some very small, some smaller, and some in a little bigger. The variation in sizes will yield a tender AND flaky crust, with the small pieces melting into the dough and making it tender, and the larger pieces creating shatteringly flaky layers. It is truly a symphony of buttery goodness.
Now, lets talk about the potential pitfalls of a pie dough, and how to avoid them. Commonly, one of three not so great things can happen when making pie dough: one, the dough is too dry and cracks when rolling and baking, two, the dough is overworked, or three, over hydrated and sticky. All three options can make the dough have a tough texture, but are easy to avoid!
For dough that is too dry: you want to hydrate the dough just to the point that it all sticks togther when pressed, but it should not be floury still. If you have floury pieces, separate them and drizzle ice water by the 1/2 tsp over them just until they can come together, and then add back to the dough. If you try to roll out your dough and it is too dry and cracking, drizzle a teaspoon or so of ice water, fold the dough over itself, and let rest another hour or so before rolling out again.
Avoid overworking the dough. You want to bring the dough together just enough that it forms a clump when pressed together, this is not a recipe where you want to be kneading at all. Overworking the dough will work the butter in too much and prevent flaky layers while also making the dough overly tough and unpleasant.
Dough that is too wet will be sticky and hard to work with, is more susceptible to shrinkage, and becomes tough. It is the trifecta of unpleasant for pie dough. Avoid this by very slowly incorporating your ice water little by little, just until the dough sticks together in a clump.
Another potential pitfall you may face here is shrinkage. All-butter crusts are more prone to shrinkage while baking, resulting in unfortunate slumped sides. This can happen for a few reasons: stretching the dough instead of rolling when lining your pie dish, overworking the dough, or insufficient resting time. Like a lot of things in baking, pie dough requires resting time, and it cannot be skipped. In this time the gluten is able to relax, preventing it from springing back in the form of shrinkage.
The last note, and one on most of my baking recipes – I have the below recipe in grams/weight and I HIGHLY encourage you to weigh your ingredients!! It is far more accurate – did you know there is not even a standard “cup”? So there really is no way to know you have the proper amount of whatever ingredient without the weight. This is especially important in baking where just a few dozen grams in the wrong direction could have a big impact. Here is the scale I use.
Easy, flaky, all-butter pie dough
Course: Basics, DessertDifficulty: Easy1
pie crust28
minutes40
minutes2.5
hoursIngredients
142g (1 stick + 2Tbsp) butter, cold
200g (1 1/2 C) All-purpose flour
13g (1 Tbsp) granulated sugar*
3/4 tsp kosher salt
Directions
- Slice half of the butter into thin pads and half of the butter into 1/2 inch cubes. Put back in the fridge.
Combine the flour, salt, and sugar in a large bowl. If your kitchen runs hot, freeze your flour 10-15 minutes. Fill a 1 or 2 cup measuring cup with ice water and store in fridge until ready to use. - Add the butter cubes into the flour mixture and toss to combine. Quickly smush each piece with your fingers to break up the pieces. Add in the butter pads and smash as well, creating a variety of small butter pieces, slightly larger pieces (like a bean sized), and thin butter shards. By the time you work through all of the pieces the flour should be slightly yellowed.
- Drizzle 5tbsp of ice water over the flour mixture, initially stirring with a fork to hydrate flour. Toss together a few times with your hands (or a dough scraper if your hands run warm) until it turns into a rough clump. Transfer to a clean countertop.
If the dough is in a large clump with floury spots, separate out the floury spots and drizzle ice water by the 1/2 tsp over them, just until they can come together. Stick it to the larger dough. If the dough cannot come together yet and is all around still floury, drizzle teaspoons of ice water over the dough and squeeze together with your hands until they do. - Press the dough into a rough rectangle and wrap in plastic wrap. Press the dough into the corners of the plastic wrap to fill it out fully. Chill in fridge 2 hours.
- After 2 hours, let the dough soften at room temperature for 5-10 minutes. Use a rolling pin to roll it out into a rough rectangle and cut in half. Stack and slightly press down to seal together. Roll back out lightly and repeat the cutting and stacking.
Wrap tightly in plastic wrap and chill 30 minutes. The dough is now ready to use. Store in the fridge 3 days or freeze. To make rolling easier (if making a round pie) form into a circle when wrapping and chilling by creating a rough circle with your dough and then wrapping the plastic wrap in a circle around. Push the dough into the edges of the wrap to create a smooth, even circle. - Baking and parbaking
- If you need a parbaked or fully baked crust for your recipe, proceed. Remove the pie dough from the fridge, resting on the counter for 10 minutes.
- Lightly flour a counter or work surface. Beat the top of the dough to soften it up slightly and roll it out a few inches larger than your pie dish. (12-13inches for a 9inch plate). You will want it a bit bigger if it has ragged, uneven edges.
- Using your rolling pin, gently roll up the dough and lift, placing down on your pie plate and unrolling onto it. Letting the dough gently slide and slump into the plate, gently guide the dough into place and push against the bottom and sides of the pan to anchor the dough. Avoid stretching the dough into place, as this can cause shrinkage.
- Trim excess hanging dough and create a lip around the edge of the pie plate, folding the dough over itself to create a thick edge. For the edges, either press the dough down along the sides, press down with a fork to create lines, or create crimps with your thumb and pointer finger on one hand, and pointer finger on the other.
- Ideally, place the formed pie dough into the fridge for 2 hours. If short on time, freeze 30 minutes. Preheat the oven to 425 F.
- Prick the bottom of the pie dough all over with a fork. Get two long pieces of foil and line the pie dough with them so the entirety of the dough is covered by foil. Press the foil into the bottom of the pie plate and up the sides, so it is tight to the dough. Fill with pie weights, uncooked rice, or dry beans. Place on a foil lined baking sheet, to catch any dripping butter.
- Bake 35 minutes, or until the sides are golden and almost fully set, and the edges of the crust are golden brown. If you remove the weights too early, you risk slumping sides. Carefully remove weights. If you have a particularly wet filling, brush the bottom with an egg wash.
Reduce the temp to 350 F - For a parbaked crust, bake until golden brown all over, 25-30 minutes. Cover the edges with tented foil if they are darkening too quickly.
For a fully baked crust, bake until deeply golden across, 30-45 minutes (an additional 10-15 minutes from parbaked).
Notes
- *remove if for a savory pie/do not want
