There are nowhere near enough words to describe the love I have for this bread. When I first made it, I was genuinely shocked (and frankly pretty upset) with how good it was. For the little effort it requires, WHERE HAS THIS BREAD BEEN ALL MY LIFE? This recipe is incredibly easy and all made by hand – it just requires a little time & patience.
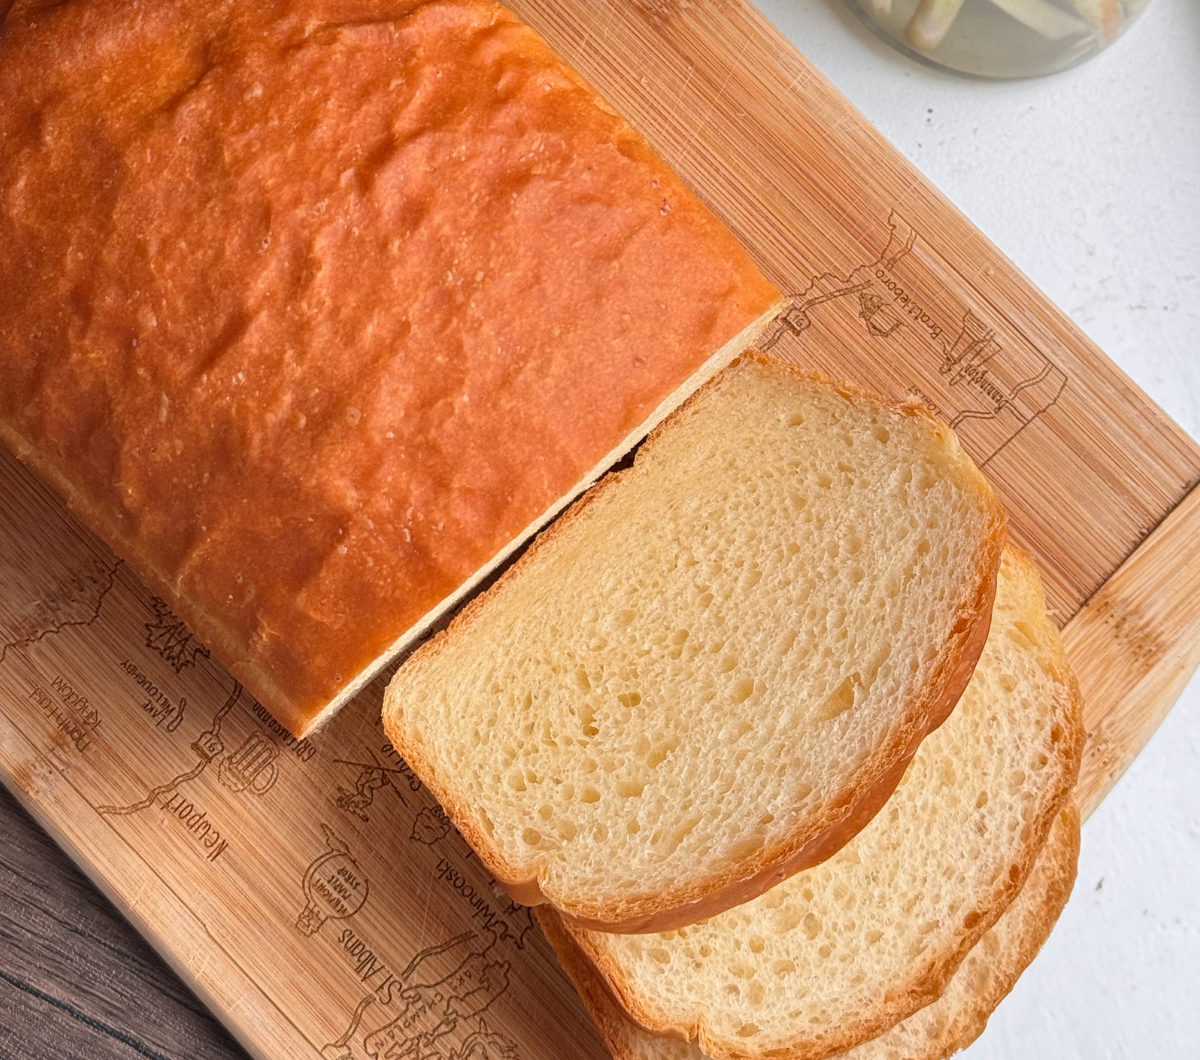
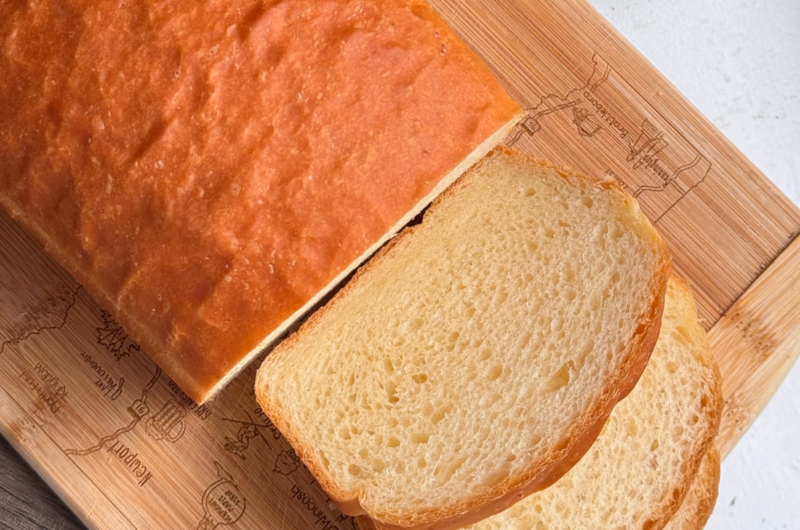
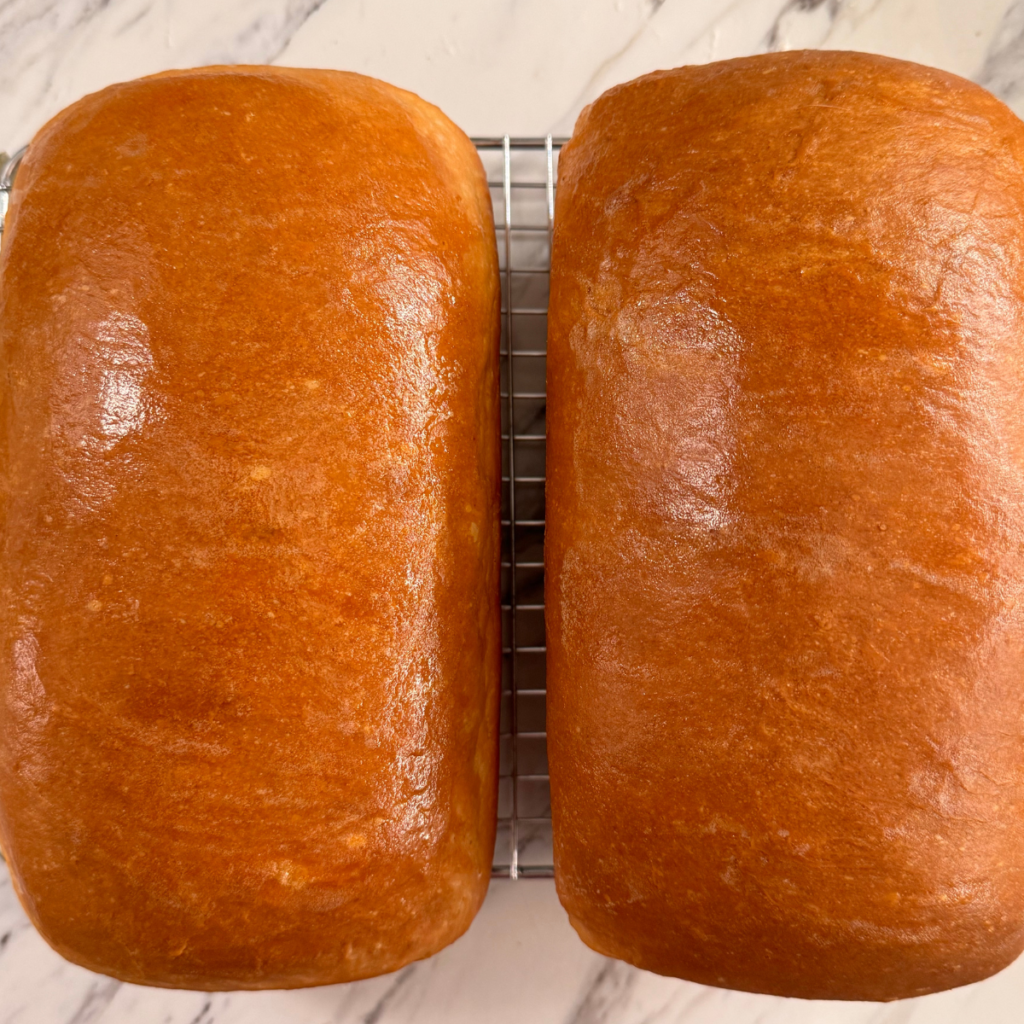
And since that day, this bread has been a staple in my household – to the point where I will not buy sandwich bread anymore, because why would I pay more for something that taste so much worse? The bread is soft, yeasty, buttery, and (when toasted) the crust shatters to almost taste like a croissant. The crust is so good I actually WANT the butt pieces. It is almost like a brioche, but dare I say better, as it is the perfect everyday bread. And I do eat this every day.
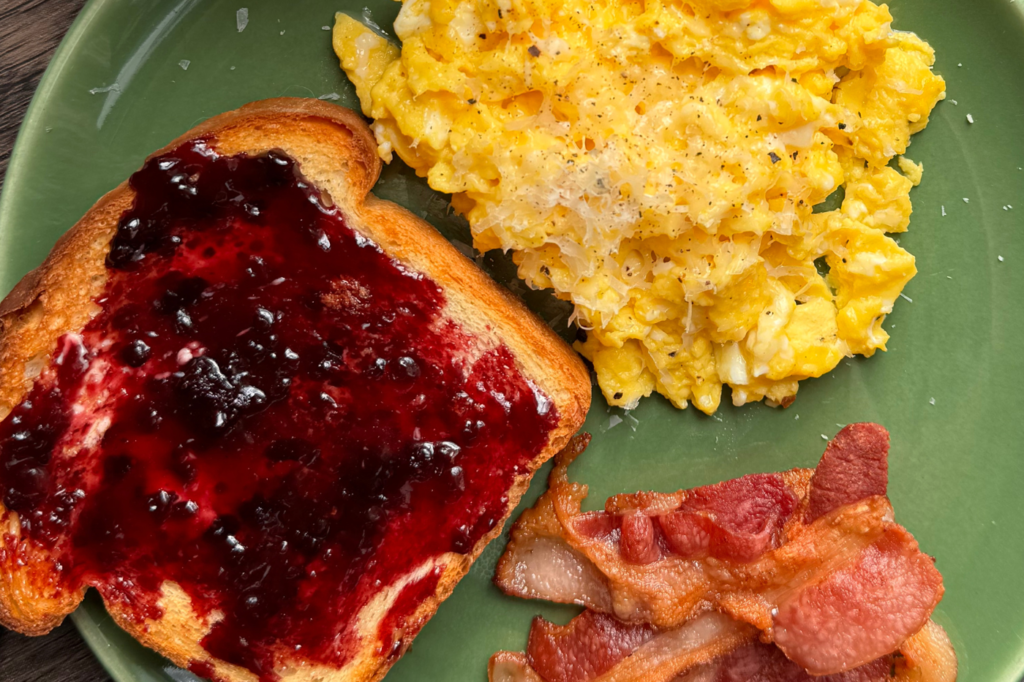
The base recipe makes two loaves, which I recommend having one fresh, and one sliced & frozen, ready to pop in the toaster. Fresh and in a bread bag, the loaf will last around a week before getting too stale. I eat this bread every morning with butter, jam, and scrambled eggs (which I highly recommend), but eat with good butter, use for sandwiches, toast of any kind, french toast, etc.
I learned this recipe in Rose Levy Beranbaum’s The Bread Bible, which is a fantastic resource for all things bread. Rose perfectly breaks down bread making techniques and walks you through how to customize any recipe to be your own – it is a staple in my kitchen and I highly recommend to anyone interested in bread making.
To make things easy, the below recipe will be the by hand version. To do this in the stand mixer, just add 35g (1/4 C) flour to dry mix and adjust the kneading section as follows: when mixing, initially only add butter to the bowl. Using a dough hook, mix on low until a rough dough forms, and cover 20 minutes. Add salt and mix on medium 7-10 minutes. Follow the rest of instructions as written.
The ingredients are incredibly straight forward: all-purpose flour, water, honey, yeast, milk, and butter. In this recipe, we are using milk powder, but if you can’t find it/can’t bother, replace 1 C of water with 1 C of scalded milk (milk that is brought to boiling and then cooled back down). For the best flavor, use a high quality flour. I like King Arthur.
The process is also very easy – but for ultimate flavor (which I always do) start the night before. What separates good bread (because all bread is good) from great bread, is the starter. And I don’t just mean sourdough. Having a starter, that is, some of the ingredients pre-mixed and then fermented for flavor development, is what makes great bread have that extra something special. It is what makes the bread flavor linger in your mouth after eating. In this case, our starter is a sponge.
The sponge is flour, yeast, honey, & water mixed together until smooth. We then top the sponge with a beautiful dry-mix hat and let it ferment. If you are in a rush, ferment at room temp for a few hours, but I recommend making the sponge and his little hat the night before, letting it sit a room temp for 1 hour before it goes to the fridge to slowly build flavor overnight.
The last note, and one on most of my baking recipes – I have the below recipe in grams/weight and I HIGHLY encourage you to weigh your ingredients!! It is far more accurate – did you know there is not even a standard “cup”? So there really is no way to know you have the proper amount of whatever ingredient without the weight. This is especially important in baking where just a few dozen grams in the wrong direction could have a big impact. Here is the scale I use.
Soft & fluffy sandwich bread
Course: Bread, BasicsDifficulty: Medium4
servings40
minutesPillowy soft white sandwich bread with buttery crust.
Ingredients
- Dough starter (sponge)
341g (2 1/4 C + 2.5 tbsp) all-purpose flour
45g honey
3/4tsp (2.4g) instant yeast
405g (scant 1 3/4 C) room temp water
- Dry Mix
276g (scant 2 C) all-purpose flour
40g (1/4 C) nonfat milk powder*
3/4tsp (2.4g) instant yeast
- Dough
9 tbsp butter, softened
15g (2 1/4 tsp) salt
Directions
- Mix the sponge ingredients together in a large bowl until very smooth and slightly aerated, 2 minutes. Scrape down the sides.
Mix together the dry ingredients and cover the sponge top evenly. Cover with plastic wrap and set out 1 hour at room temp, and then in the fridge for 8-24 hours. (if needed the same day, just leave out 1-4 hours at room temp). - The next morning, remove from the fridge 1 hour before. Set out butter to soften as well.
- Add butter and salt to the bowl and mix with a spoon until all of the flour is hydrated. Use your hands to knead in the bowl until a rough dough comes together, and then transfer to a lightly floured surface. Knead for 5 minutes, adding a little flour only if needed to avoid it being overly sticky, but it should be sticky. Cover with the upside down bowl for 20 minutes.
Knead for another 5 minutes until it is smooth and elastic. If you need to add flour, add it little by little as the dough should still be slightly tacky, even when done. - Transfer the dough into a lightly oiled 4 quart container or bowl, gently push it down, and lightly oil the top. Cover. Let rise (ideally at 75-80 degrees F) until doubled in height, 1 1/2 – 2 hours.
- When doubled, scrape onto a lightly floured surface and press it out gently into a rectangle, trying to maintain the air in the dough. Bring all of the sides together to form a little packet, or do two letter folds (like folding a piece of paper into a letter). Place back in container, lightly oil the top, and agin rise until doubled, 1 – 2 hours.
- Lightly oil two loaf pans. Turn the dough out onto a lightly floured surface and cut in half with a bench scraper. Gently press each half into a rectangle and use your fingers to dimple across the surface, popping any air bubbles. Fold it like a letter, bringing the right side slightly over halfway and then overlapping with the left, using the side of your hand to seal the fold.
Starting with the end of the dough furthest from you, roll the dough over itself, using pressure to hold the roll and slightly push away as you roll, forming a tight log. As you roll and press, the dough log should naturally become longer (you want it the length of the bottom of your loaf pan) but if it is not long enough, starting at the middle, cup and place your hands on the middle top, gently rocking and stretching the dough as you move your hands toward the edges.
To seal the ends, tuck the edges underneath. Transfer to prepared pan and repeat with second piece of dough. - Cover shaped dough with oiled plastic wrap and let rise 1 1/2 – 2 hours. The center of the dough should go from 1/2 an inch from the top of the pan to 1 inch above the top.
- Around 45 minutes before baking, place a rack on the lowest shelf of the oven and preheat to 350 F. Place a baking sheet on the rack, and a cast iron or baking sheet on the bottom of the oven (below the bottom rack).
- Quickly set the loaf pans on the baking sheet and toss 1/2 C of ice in the cast iron on the bottom, quickly closing the door after to trap the steam. Bake 50 minutes, rotating halfway through, until the tops are golden brown and it is deeply fragrant. You can also stick an instant read thermometer inside, it should reach 210 F.
Optionally, glaze the top with 1 Tbsp melted butter. Carefully remove from pans and cool fully on a wire rack. Note these MUST fully cool to avoid collapsing.
Recipe Video
Notes
- *if you can’t find milk powder, replace 1 C of water with 1 C scalded milk (milk that has been brought to boil and then cooled back down)
- Recipe credit: Rose Levy Beranbaum’s The Bread Bible
